
 324
324
You can apply Kiosk and/or Launcher feature to Android devices.
“Kiosk” is a mode for locking an Android device into restricted operations, therefore turning it into a single-purpose device.
“Launcher” refers to a customized Android Home screen.
Adding a Kiosk and/or Launcher Profile
Before you can apply the Kiosk and/or Launcher feature, you have to create a profile.
-
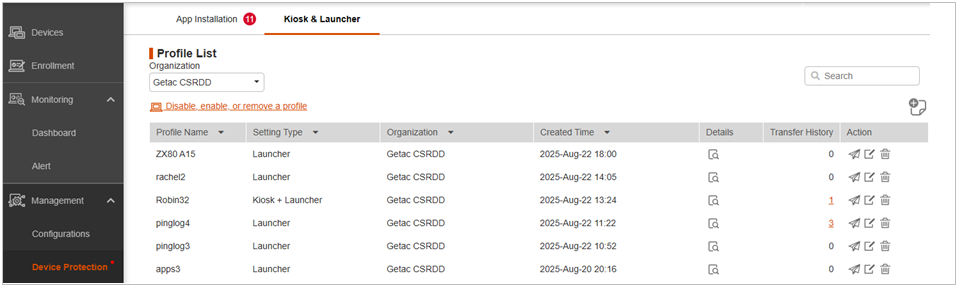
Select Device Protection and then the Kiosk & Launcher tab.
-
Select the organization.
-
Click
 .
.
-
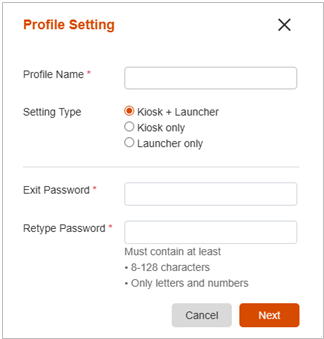
Enter the required information in the input fields. At Setting Type, select the type you want
Click Next to continue.
-
Depending on the Setting Type you selected, continue with the setting instructions as described in the “Kiosk Setting Details” and “Launcher Setting Details” below.
-
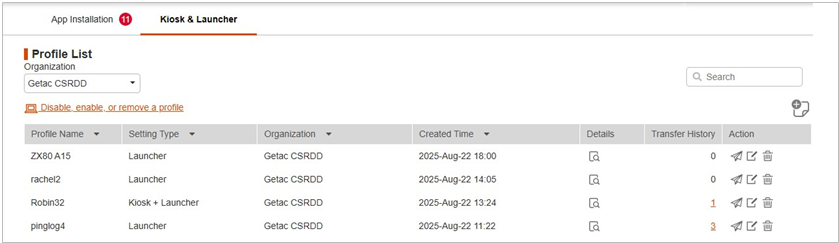
After you have completed the settings, you will see the profile added to the list.
With the profile created, you can now apply it to target devices using the ![]() button. (See “To transfer a profile to devices” for further information.)
button. (See “To transfer a profile to devices” for further information.)
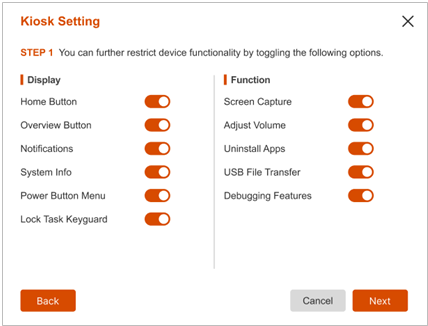
Kiosk Setting Details
-
In the Kiosk Setting popup window, slide the switch for an item on or off as needed. Click Next to continue.
-
This step is for the “Kiosk only” setting type only. It is not available for the “Kiosk + Launcher” setting type.
If there is no need to hide any app, click Save.
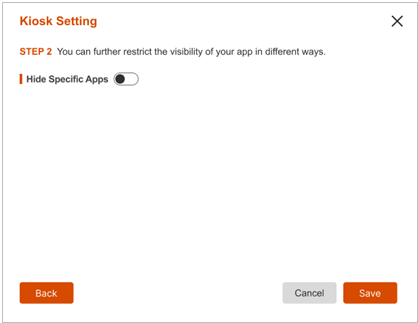
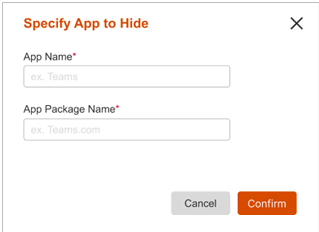
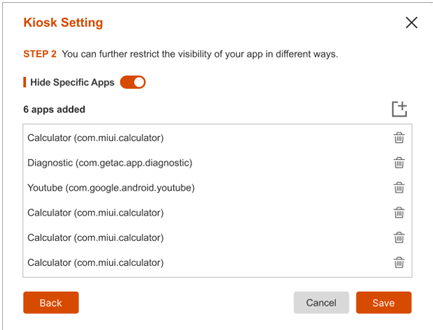
If there is a need to hide any app, slide the Hide Specific Apps switch to the “on” position and click ![]() . Enter the required information in the input fields and click Confirm. You will see the app list. Click Save.
. Enter the required information in the input fields and click Confirm. You will see the app list. Click Save.
Launcher Setting Details
-
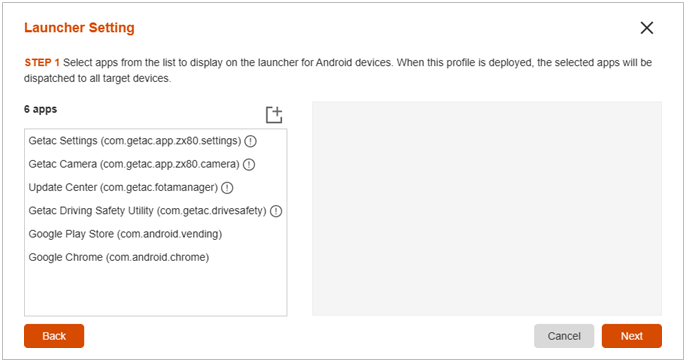
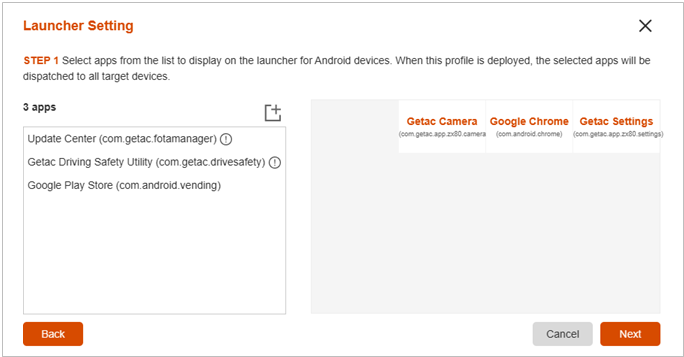
In the Launcher Setting popup window, click
 to add an app that will be displayed on the Launcher.
-
Select (check) the apps to be added. After your selection, click Confirm.
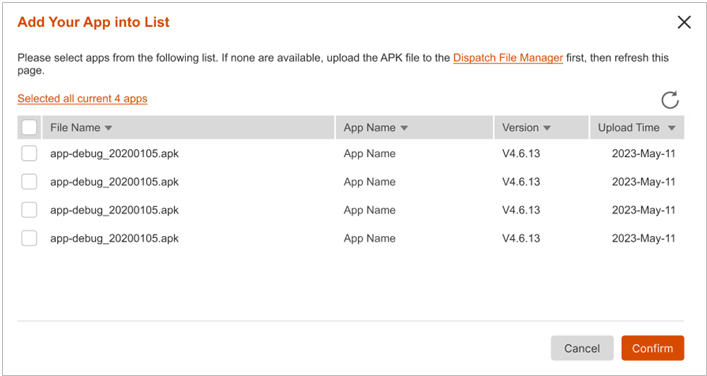
NOTE:
-
The apps listed here are those which have been uploaded to the server using the Dispatch – File Manager function. If you have not yet uploaded the app, you can click the link Dispatch File Manager in this popup window to go to the function. (See “File Manager” for information.)
-
You can refresh the list by clicking
 .
.
-
Drag the app from the left column to the right column. When completed, click Next.
-
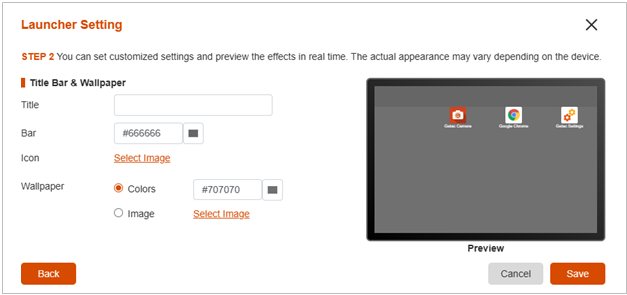
There are several Launcher screen elements you can set up.
-
Title: In the input field, enter the text to be displayed in the title bar.
-
Bar: To set the color for the title bar, either enter the hexadecimal color code in the input field or select from the available options.
-
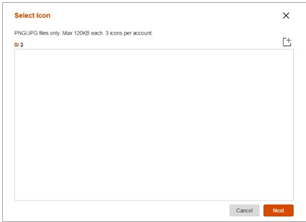
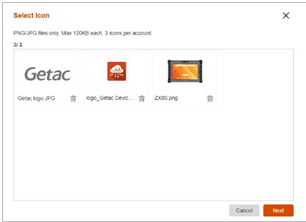
Icon: To set the icon for the title bar, click Select Image. The thumbnail area of the popup window is empty when you first access the function. Click
 to select your image (PNG or JPG). After your selection, click Next and the thumbnail appears.
-
Wallpaper – Colors: Select this item if you want to set a solid color wallpaper. Either enter the hexadecimal color code in the input field or select from the available options.
-
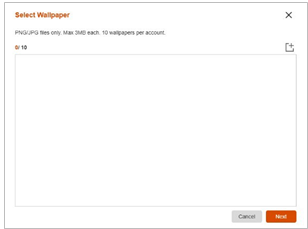
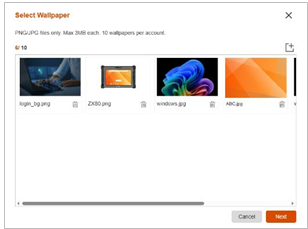
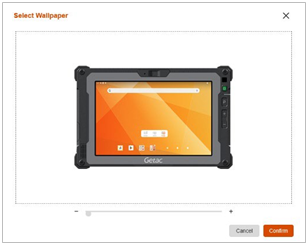
Wallpaper – Image: Select this item if you want to set an image as the wallpaper. The thumbnail area of the popup window is empty when you first access the function. Click
 to select your image (PNG or JPG). After your selection, a preview windows appears where you can adjust the size of the image for the best result. When completed, click Confirm.
-
When completed, click Save. The popup window displays the preview of the Launcher.

Managing Kiosk & Launcher Profiles
Select Device Protection and then the Kiosk & Launcher tab. You will see the list of profiles which have been created.
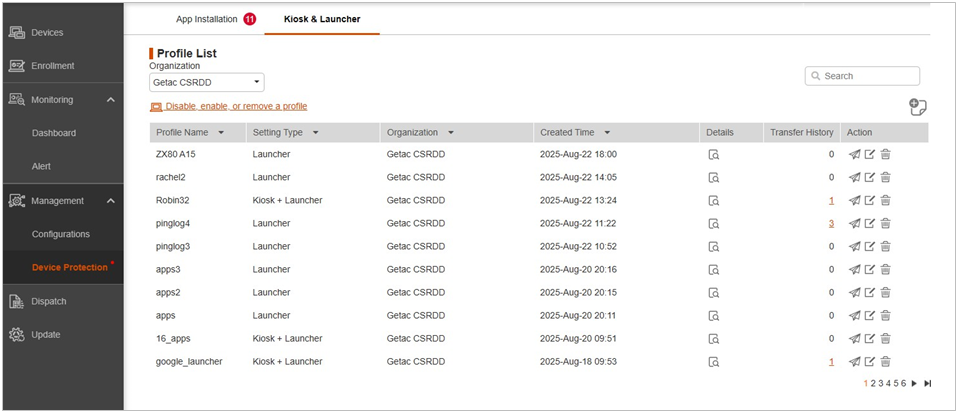
Below are the actions you can perform to an item in this list.
-
Click
 to view details of the profile.
-
Click
 to transfer the profile. (See “To transfer a profile to devices” later for details.)
-
Click
 to edit the profile.
-
Click
 to delete the profile.
-
Click the underlined number in the “Transfer History” column to go to the Transfer History tab page.
To transfer a profile to devices
After creating a Kiosk & Launcher profile, you can apply the profile to devices by starting from here or from the Configurations page.
To start from here:
-
On the Kiosk & Launcher tab page, click
 of the profile.
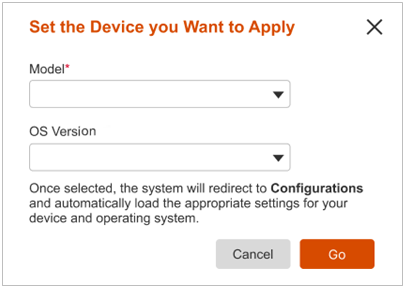
-
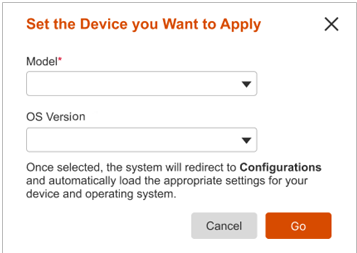
Select the model and OS version of the target devices.
-
Click Go. You will be redirected to Configurations page with the profile added.
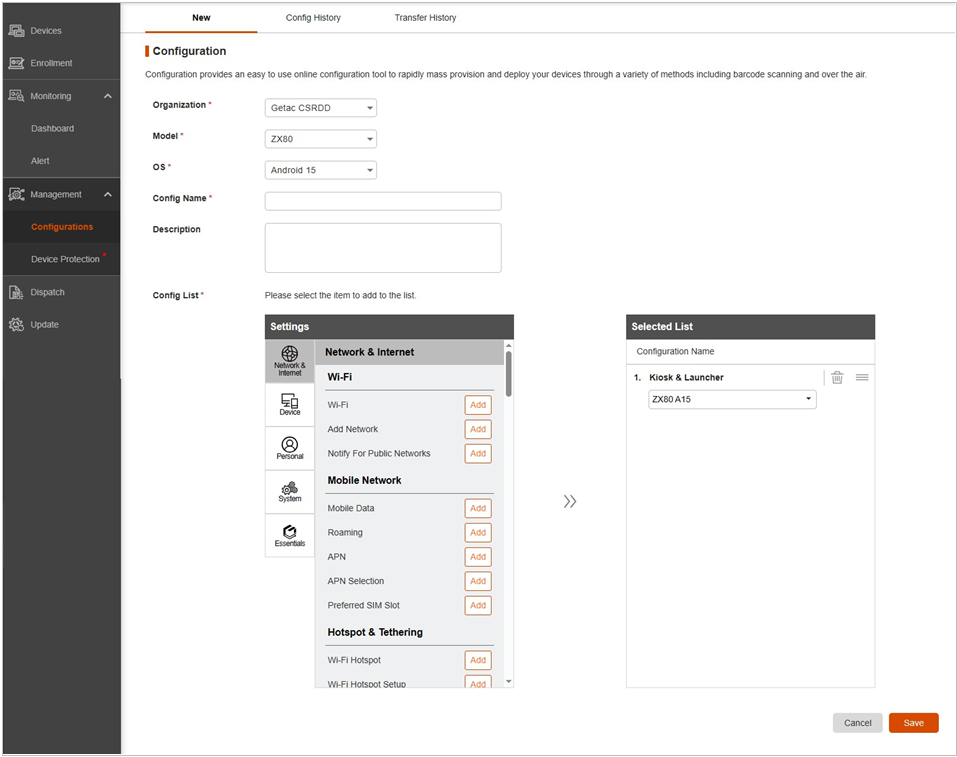
-
Complete the configuration settings.
Disabling, Enabling, or Removing a Profile
On the Kiosk & Launcher tab page, click ![]() . The popup window provides three options for the three purposes as described below.
. The popup window provides three options for the three purposes as described below.
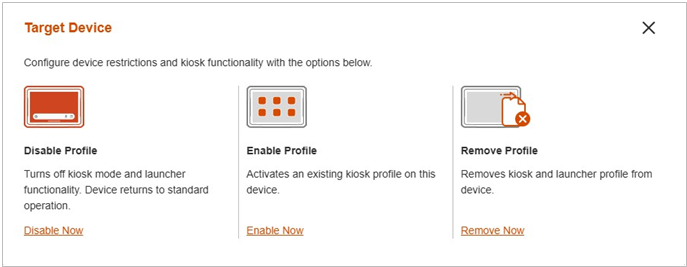
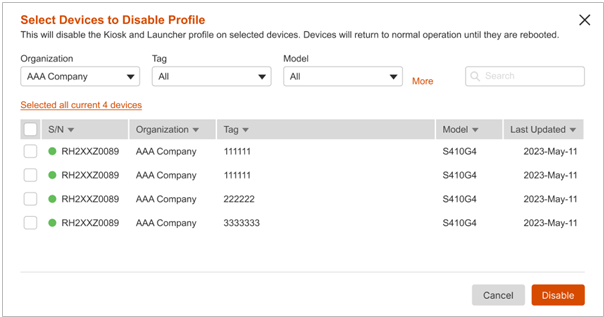
To disable the profile on devices
You can disable the Kiosk and/or Launcher profile on devices which have the Kiosk and/or Launcher profile applied.
-
Click Disable Now in the popup window. You will see the list of devices with the Kiosk and/or Launcher profile applied.
-
Filter the device list as needed.
-
Select (check) the target devices.
-
Click Disable.
The target devices will return to their normal state after they restart.
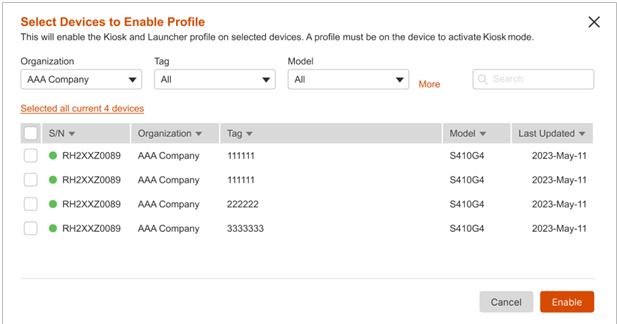
To enable the profile on devices
You can enable the Kiosk and/or Launcher profile on devices which have the profile disabled previously.
-
Click Enable Now in the popup window. You will see the list of devices with the Kiosk and/or Launcher profile.
-
Filter the device list as needed.
-
Select (check) the target devices.
-
Click Enable to apply the profile.
To remove the profile on devices
You can remove the existing profile from target devices when the function is no longer needed.
-
Click Remove Now in the popup window.
-
Select the model and OS version.
-
Click Go. You will be redirected to Configurations page with the Kiosk & Launcher configuration selected so that you can remove the profile.
-
Complete the configuration settings.

