 680
680
However, since Getac Enterprise is highly configurable, the ability to complete tasks described in this article may be different for each User, depending on policy. Please contact an administrator with all access questions and concerns.
Overview
Data Lists are reusable lists of options that can be tied to option fields such as CheckBox Lists, Drop Down Lists, and Radio Button Lists, as well as parent and child fields. These are used in conjunction with Custom Forms.
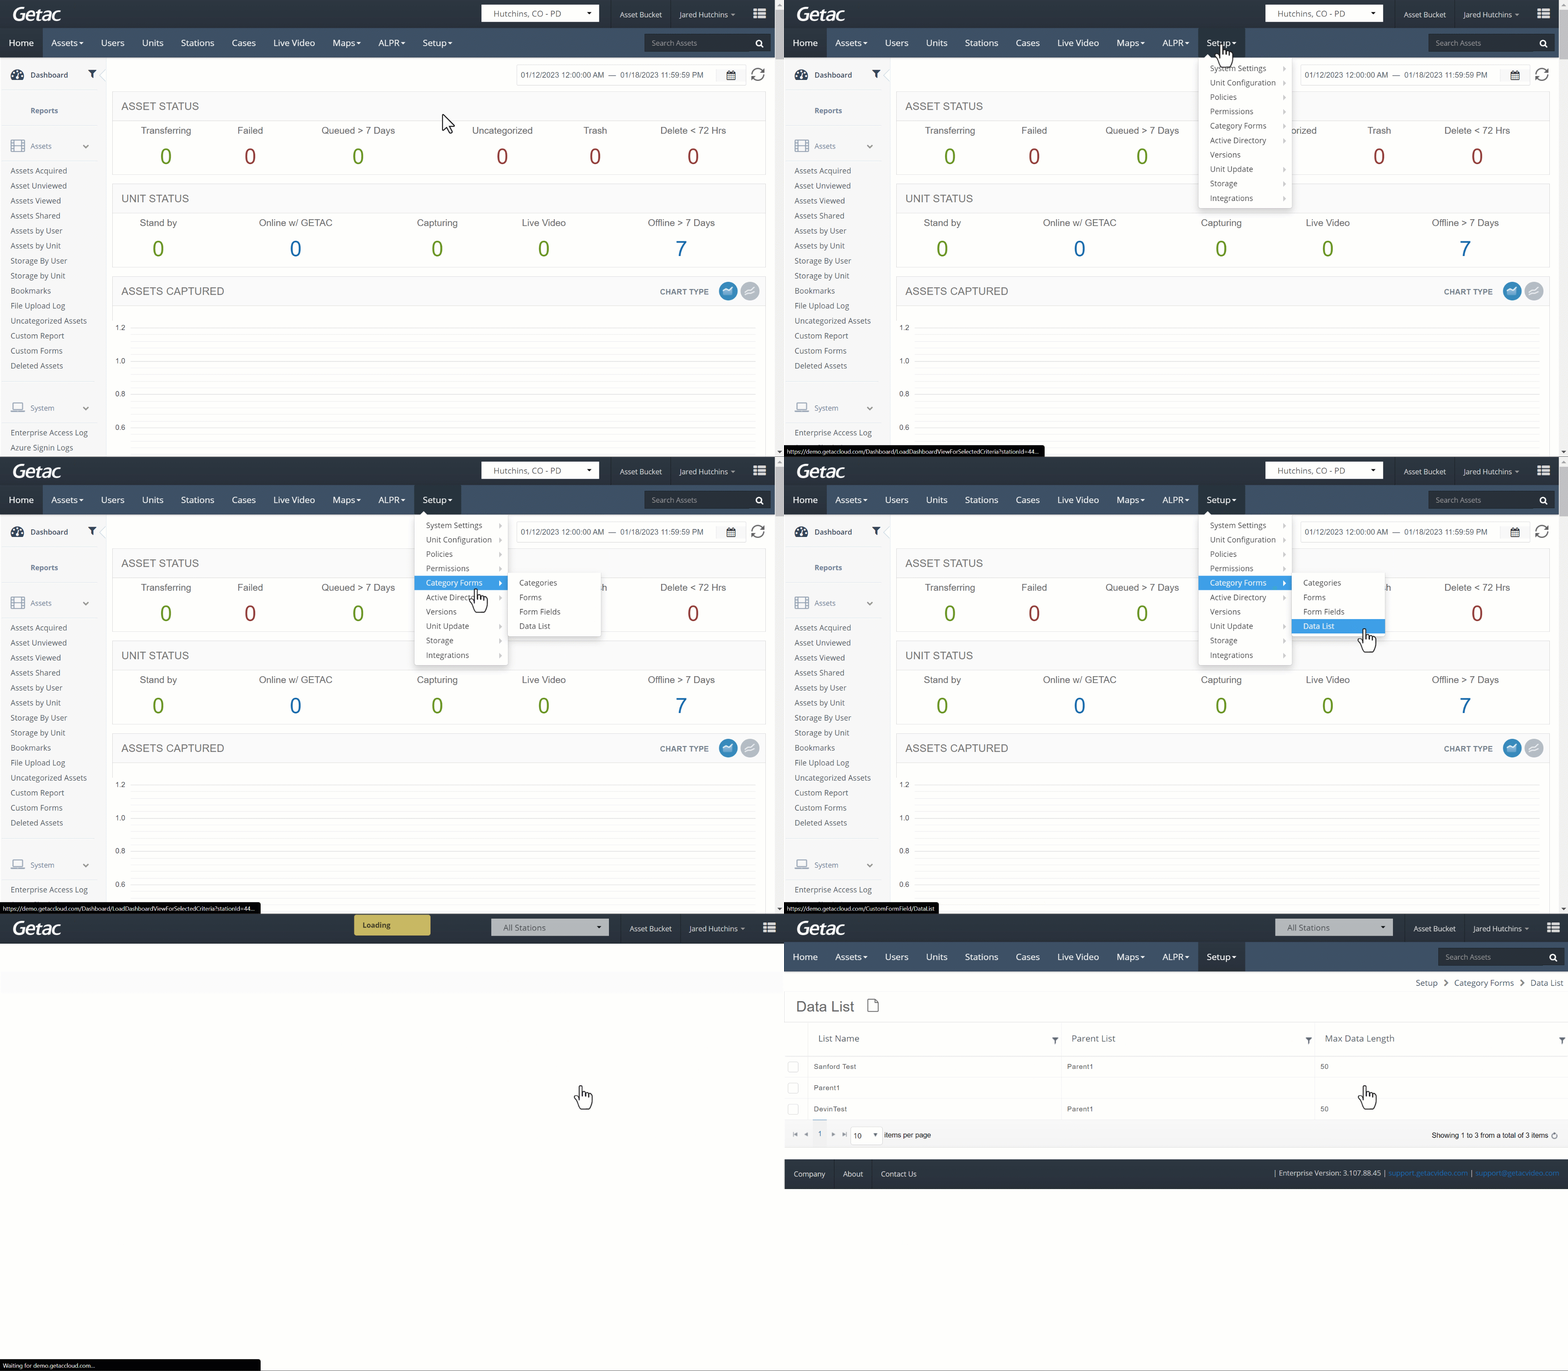
See the image below for how to access the Data List page:

Add or modify an existing Data List
Perform the following steps:
- Click on the Page icon or select a Data List from the list, then click on the Wrench icon.

- From the Manage Data List page, provide the following:
- List name - The name of the data list as it will appear on the form field edit window when selecting data list(s) to associate.
- Parent List - To be used in conjunction with Parent/Child form fields. Select another existing data list to drive this child list’s options. If you don’t want to use child lists, leave this drop-down on "please select."
- Max Length - Provide a character limit for entered data list values. If left blank, no limit will be applied.
See the image below for an example:
- Click on the Add or Update button to finalize.
- Once the Data List is created, select it from the list, then click on the + icon to open the Manage Data Value dialog.

Manage Data Value
This dialog window allows for managing which values are part of a data list and how they appear. Data Values will be ordered according to the order in which they were created.
To add new data to a list, perform the following:
- Type the desired value into the Data Value textbox, then click on the Add button.
 Note:Data values cannot be reordered after they have been added.
 - Once all Data Values have been added, close the Manage Data Value menu by clicking on the X icon in the top right of the prompt.

Data Lists can be added to a Form Field when being created. This is covered in greater detail here.


