Roles

Mar 07, 2024
 1053
1053
Note:
This article showcases features that are typically only made available to Administrator roles.
However, since Getac Enterprise is highly configurable, the ability to complete tasks described in this article may be different for each User, depending on policy. Please contact an administrator with all access questions and concerns.
However, since Getac Enterprise is highly configurable, the ability to complete tasks described in this article may be different for each User, depending on policy. Please contact an administrator with all access questions and concerns.
Note:
Items covered in this section are informative only and do NOT explain how to set up each agency's specific permissions. Many configurations of permissions are possible and unique to each deployment. Contact [email protected] for assistance.
Overview
A user role defines which areas of the system a User is permitted to access in conjunction with the profile that is associated with their role. Roles tend to define a hierarchy based on real-world organizational structure. For example, a set of roles could be Chief, Deputy, Supervisor, and Officer. The hierarchy defined by the role is used in tandem with groups in order to automatically establish user data sharing permissions.
See image below for how to access the Roles page:
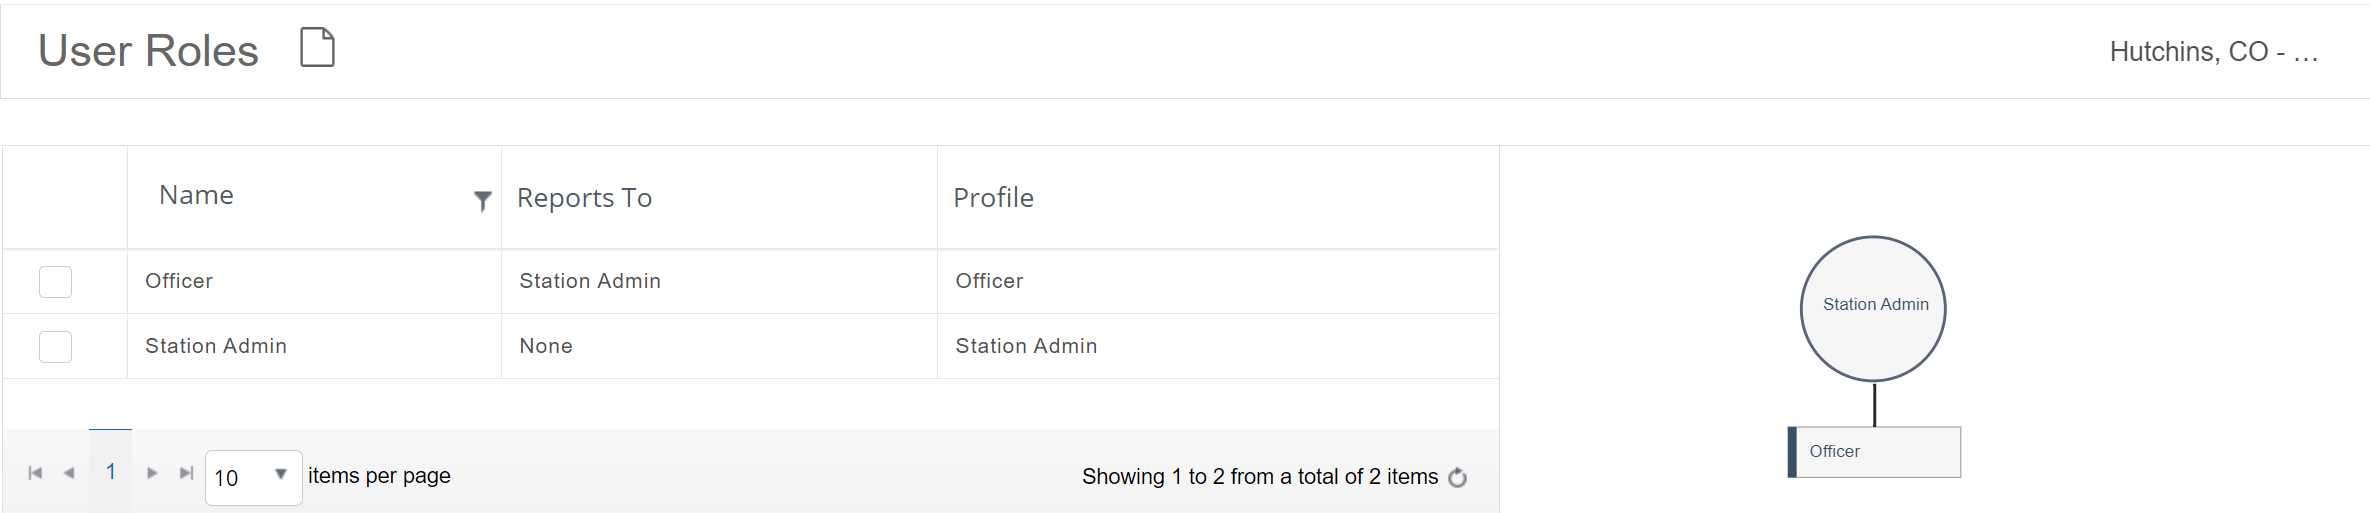
The User Roles page shows a list of all created user roles and management tools. On the right side, a chart displays the hierarchy of all Station roles.
See image below for an example:
Add or modify existing Roles
Perform the following steps:
- Click on the Page icon or select a template from the list, then click on the Wrench icon.

- From the Manage User Role page, provide the following:
- Name - Enter the name of the new user role.
- Station Group - Roles are associated with the Station Group (not individual Stations).
- Reports To - Use this field to select the Role directly above this new role.
Note:This field is required if the role is not the Root Level Role.
- Profile - Select the User Profile associated with this role.
- Landing Page - Specify the user role’s home page.
- Root Level - This indicates that the role is the topmost role in the role hierarchy.
- Save/Cancel - Commit or Discard changes by using the Create/Save and Cancel buttons.
See image below for an example:

Note:
Once a User Role has been created, it cannot be deleted however, it can be repurposed or modified to meet the needs typically covered by creating a new role.

