OAuth Configuration

Mar 07, 2024
 880
880
Note:
This article showcases features that are typically only made available to Administrator roles.
However, since Getac Enterprise is highly configurable, the ability to complete tasks described in this article may be different for each User, depending on policy. Please contact an administrator with all access questions and concerns.
However, since Getac Enterprise is highly configurable, the ability to complete tasks described in this article may be different for each User, depending on policy. Please contact an administrator with all access questions and concerns.
Note:
This feature is currently available to single-tenant server customers ONLY. Contact a Getac representative for more details.
Warning:
The information listed here is to explain this feature. This is configured by the Getac implementation teams and should NOT be modified without first contacting [email protected]. Getac is not responsible for data loss or interruption of services due to improper configuration of this feature.
Overview
This page is for configuring OpenID authentication.
See the image below for how to access the OAuth Configuration page:

Create or Modify existing OAuth Configuration
Perform the following steps:
In Azure AD OpenID Connect:
- Sign in to the Azure portal.
- Search for and select Azure Active Directory.
- Under Manage, select App registrations > New registration.
- Enter an application Name, Getac-OpenID. Users may see this name, and it can be changed later.
- Add the SSL URL in Redirect URL, e.g. https://g201.getaccloud.com.
- Select Register.
- Under Manage, select Authentication.
- In the Implicit grant and hybrid flows section, select Accounts in this organizational directory only, select ID tokens, and then select Save.
In Getac Enterprise:
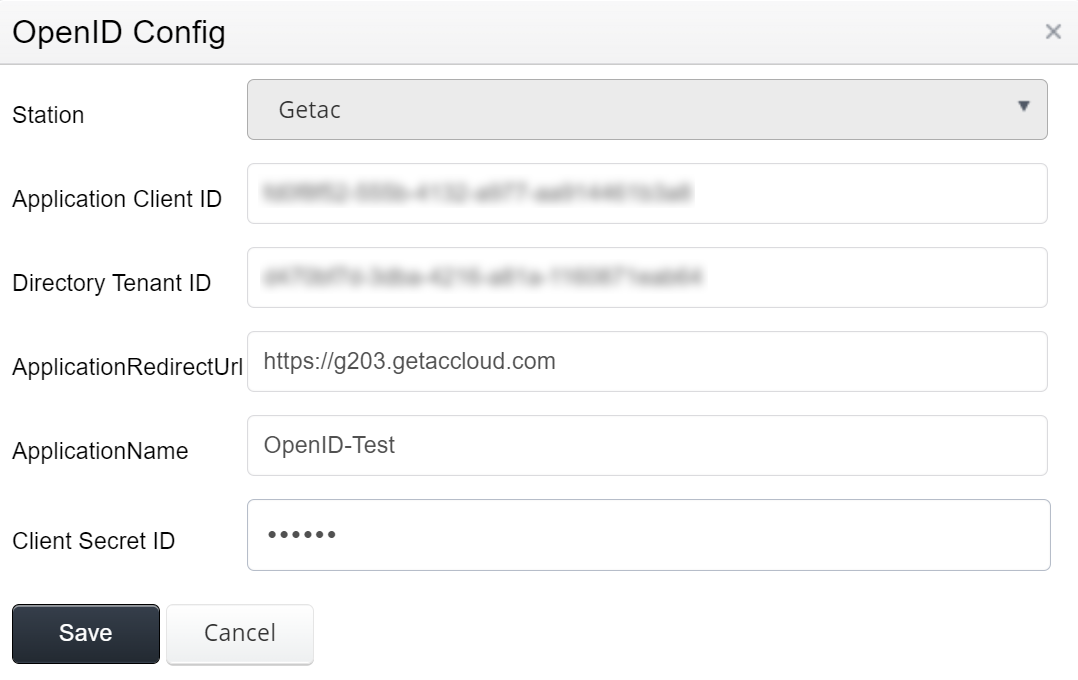
- Click on the Page icon or select an existing Configuration from the list and click on the Wrench icon.
- Enter the following items:
- Station - Select a Station to apply this OAuth Configuration to.
- Application Client ID - Enter ID for the Application Client.
- Directory Tenant ID - Enter Directory Tenant ID.
- ApplicationRedirectUrl - Enter URL.
- ApplicationName - Enter name.
- Client Secret ID - Enter secret ID.
- Click on Create or Save to finalize.
See the image below for an example: