 813
813
However, since Getac Enterprise is highly configurable, the ability to complete tasks described in this article may be different for each User, depending on policy. Please contact an administrator with all access questions and concerns.
Overview
The Crawler feature has management options to control crawl schedules, create new search crawler jobs, and review search logs. The page header contains important KPI information related to the search crawler.
See the image below for how to access the Crawler page:
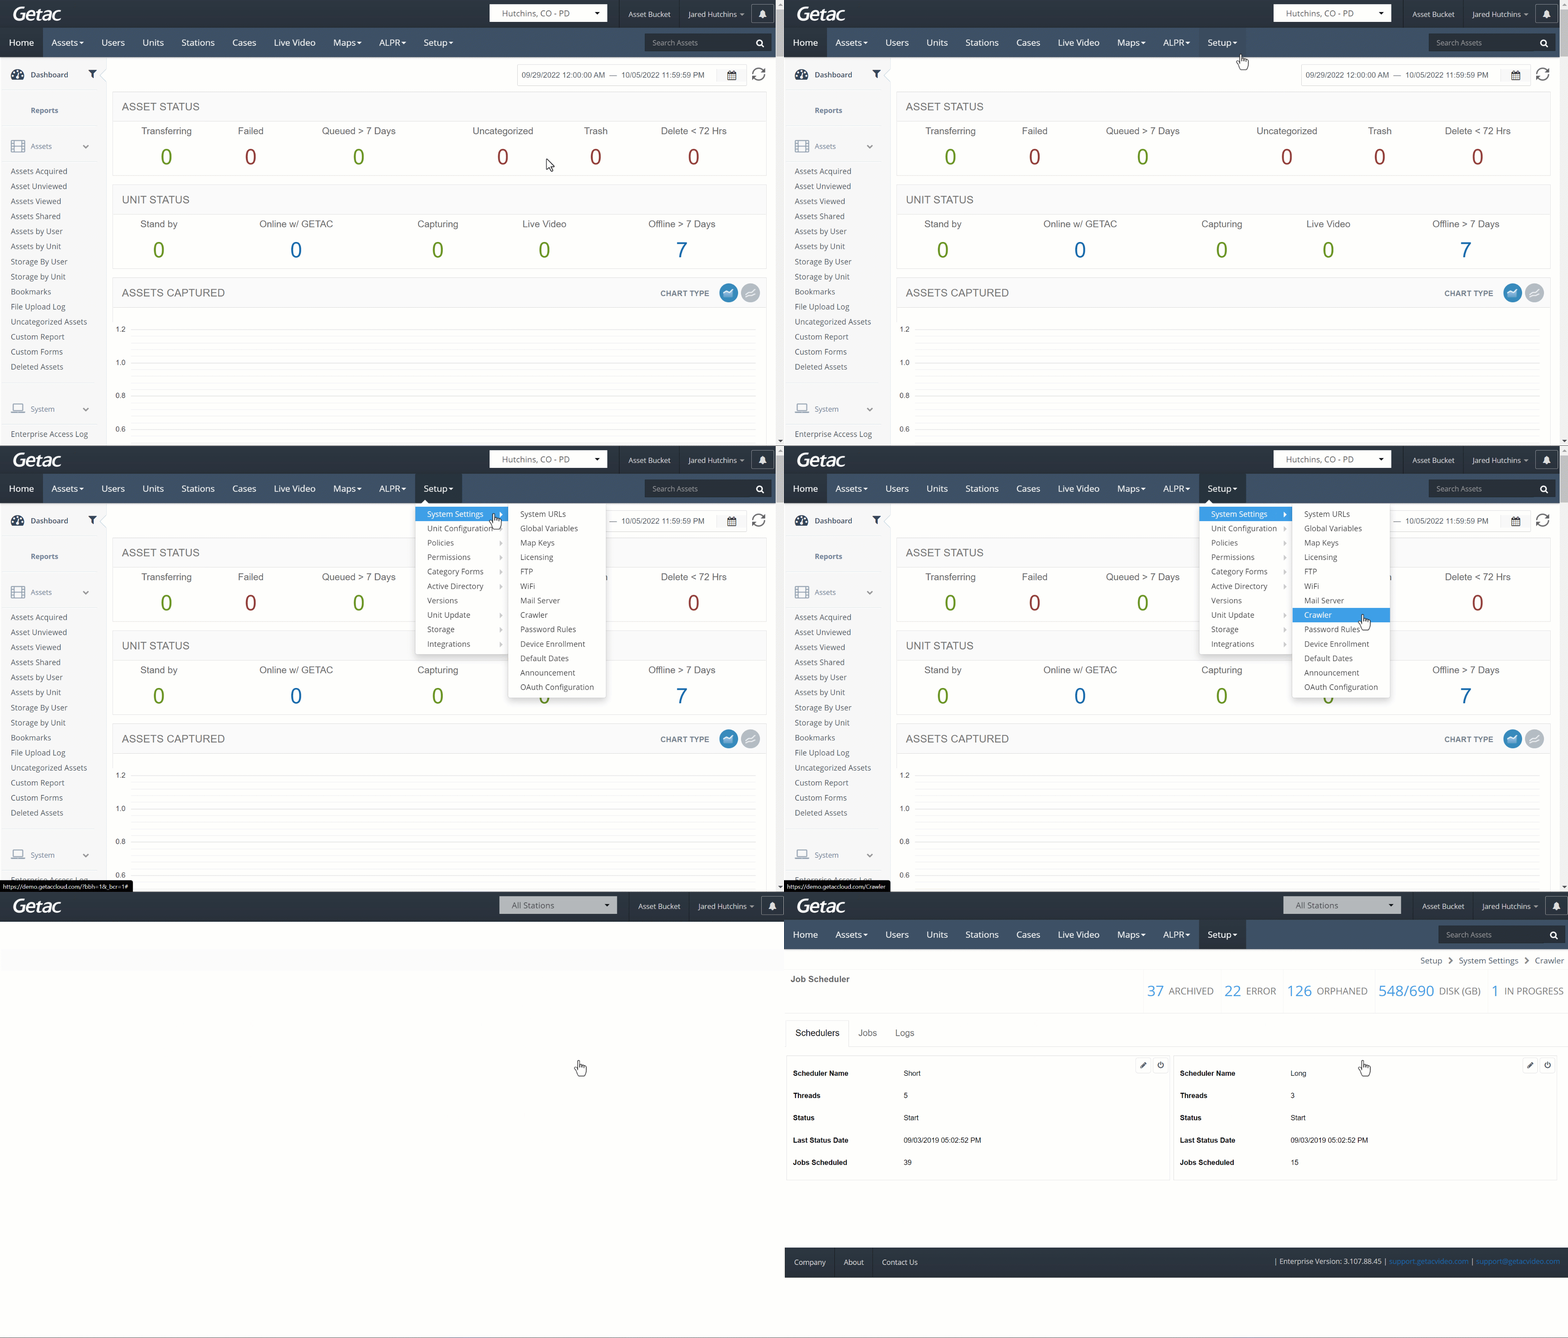
The page body is divided into three tabs sections:
- Schedulers.
- Jobs.
- Logs.
Schedulers
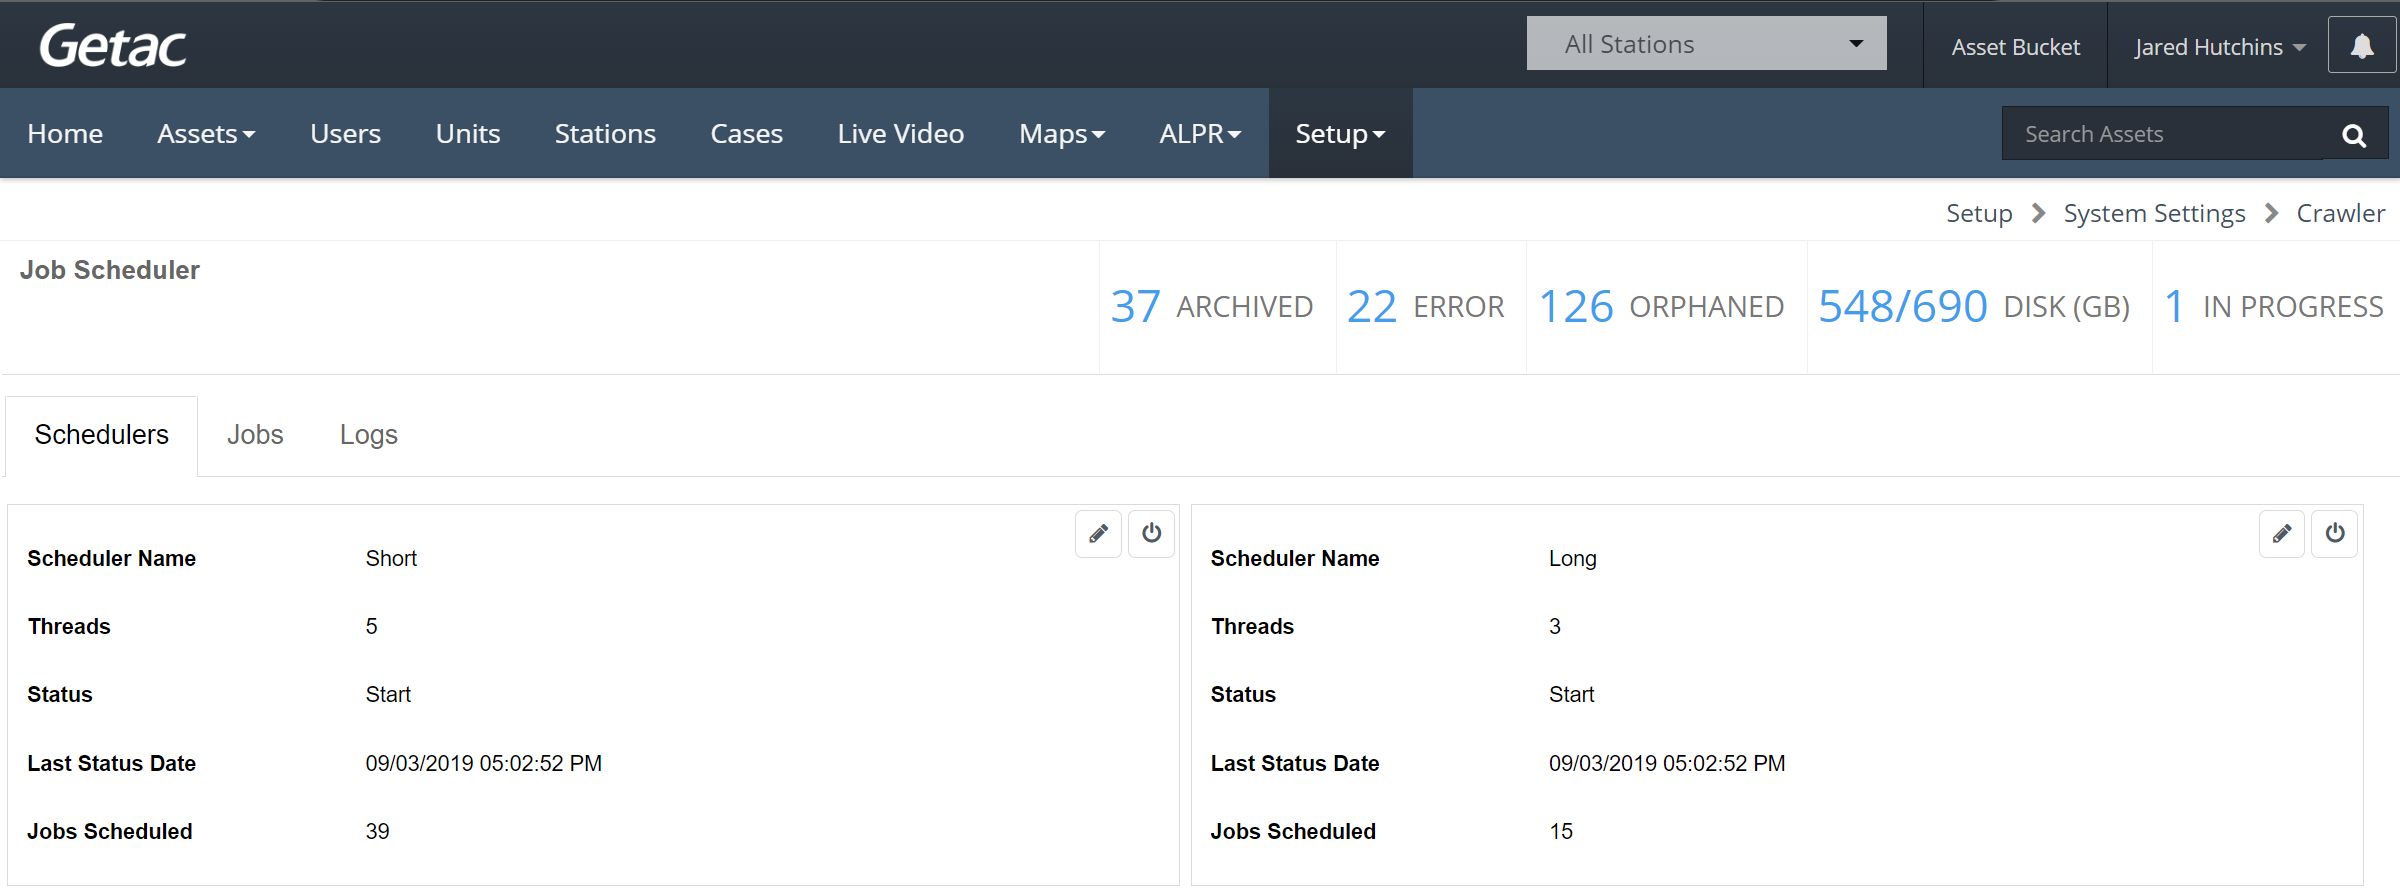
From the Schedulers tab, both the short and long crawl schedules can be modified and paused. Administrators can also monitor the scheduler status and the number of jobs assigned to each scheduler.
See the image below for an example:
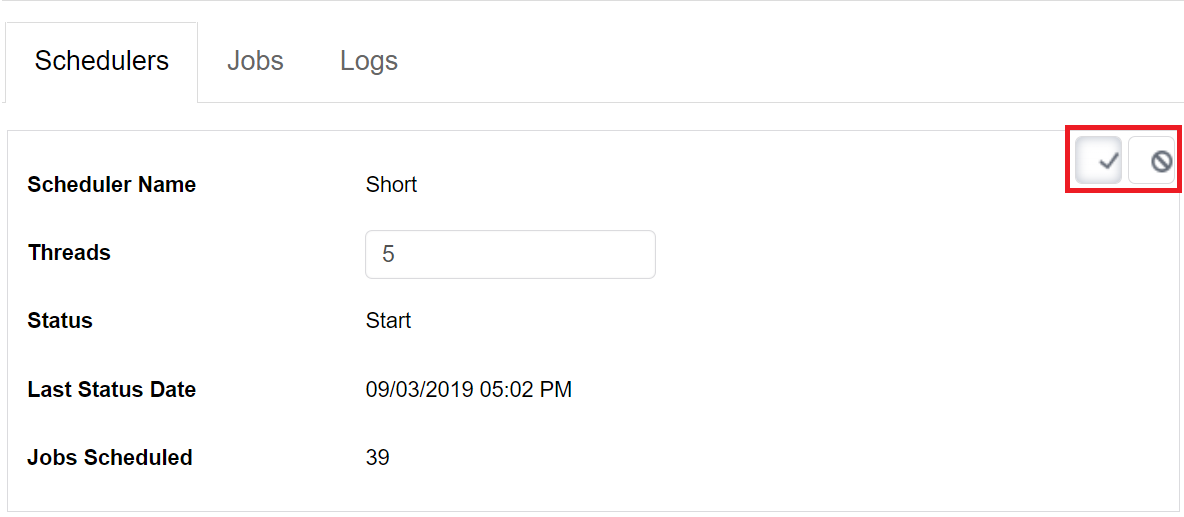
To modify a scheduler, perform the following steps:
- Click the Pen icon in the top-right of the scheduler group to edit.
- In edit mode, change the number of dedicated threads to the desired number.
- Click the Checkbox icon to confirm, or the Cancel icon to cancel.
See the image below for an example:
Click the Power button to start or stop the scheduler service. A prompt to confirm the action and a notification will appear when the service is successfully stopped or started.
See the image below for an example:

Jobs
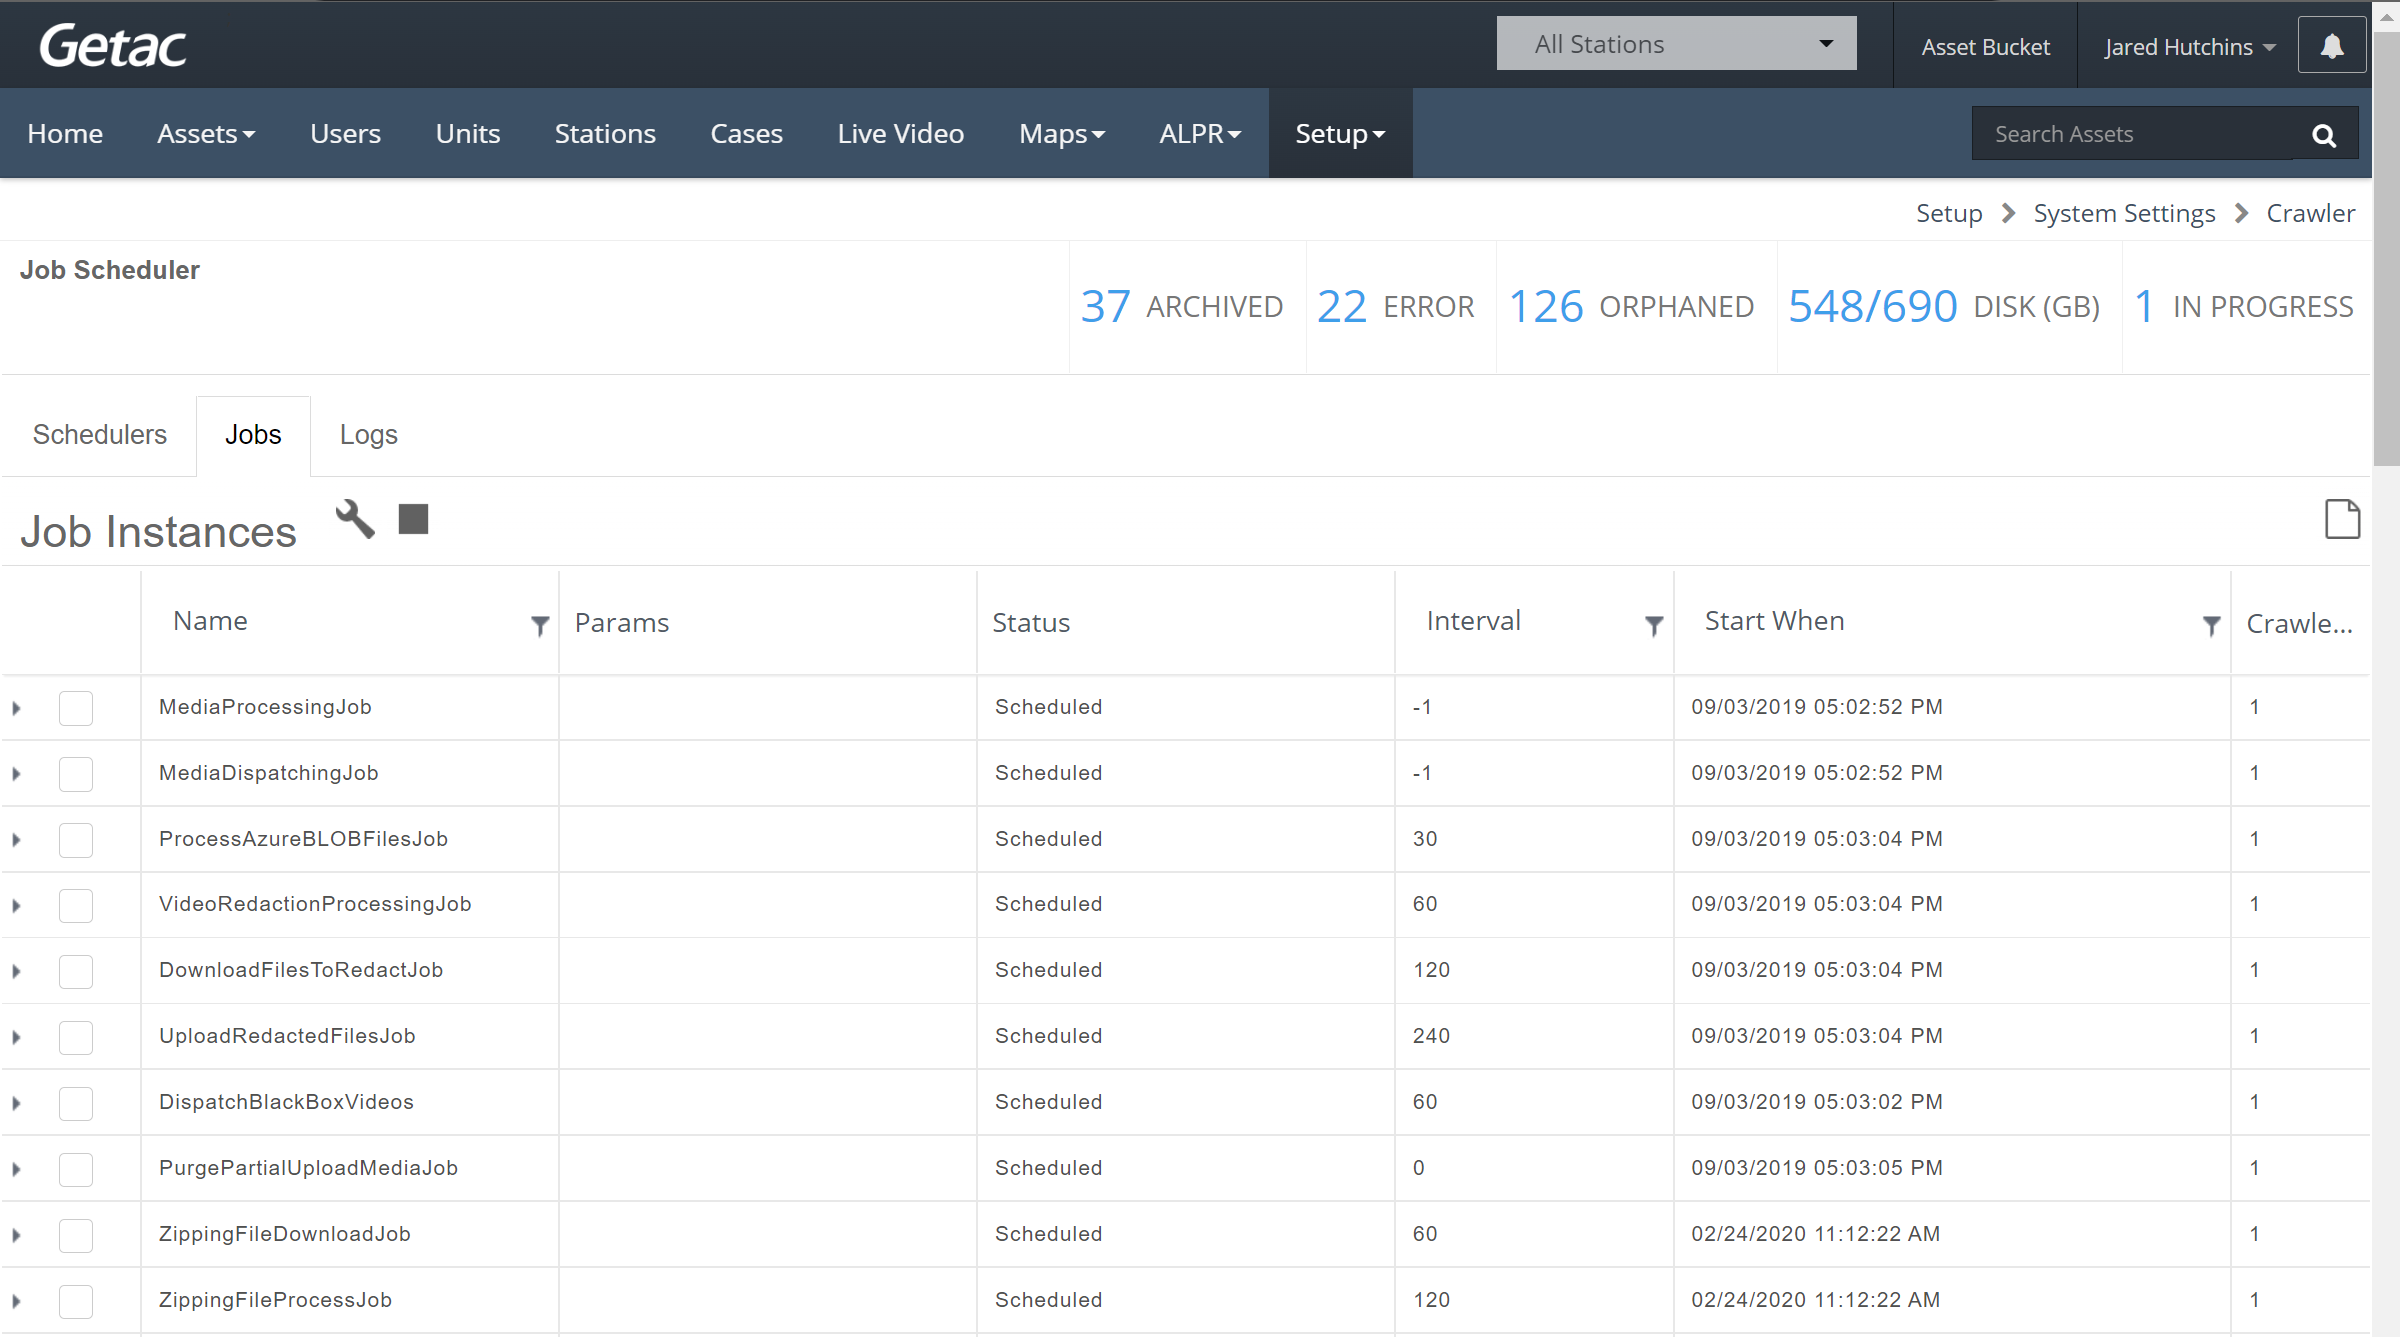
The Jobs Tab lists all available jobs with management tools to modify, create, and start/stop crawler jobs.
See the image below for an example:
Create new Job
To add a new Job, perform the following steps:
- Click on the Page icon on the right side of the screen.

Ex. Add New Job Button
- Set the Job Instance parameters and click on Save to finalize.

Ex. Job Instance Parameters
Parameters include the following:
- Job Type - See the Job Types list below for available jobs.
- Scheduler Type - Assign to the short or long scheduler.
- Job Name - The simple description of the job being created.
- Job Group - Specify if the job will run under the short or long term schedulers.
- Parameters - Custom parameters provided by Getac. Contact [email protected] for assistance.
- Interval Type - Choose Interval or Absolute.
- Interval -Set the interval value in Days, Hours, Minutes, and Seconds.
- Absolute - Set the time value in hours, minutes, seconds (HH:MM:SS) and select which day(s) or Everyday in the Days field.
- Start Date/Time - Set the Date and Time when the job will first begin. Either manually type the date/time or click the Calendar icon to pick the date, then the Clock icon to pick the time.
- Execute on Secondary - If running multiple crawlers, forces job to run on the secondary crawler.
- Save/Cancel - Commit or Discard your changes by using the Create/Save and Cancel buttons.
Modify Existing Job
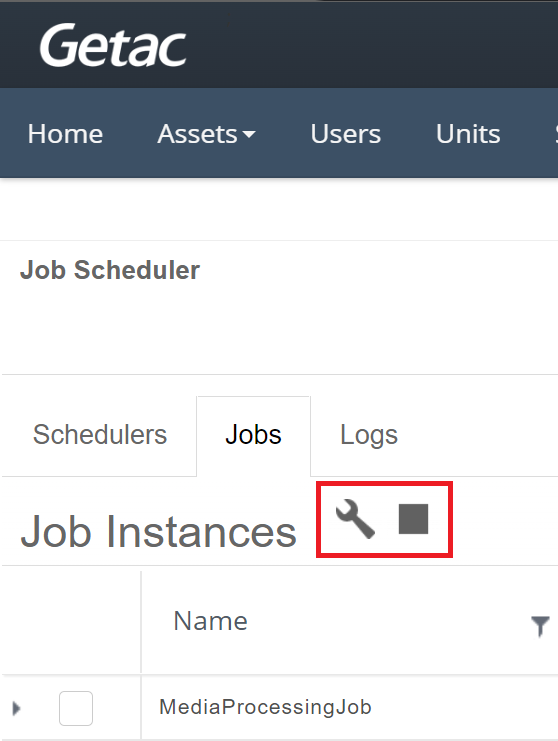
Check the box next to an existing Job and click on the Wrench icon to modify, or on the Stop icon to unschedule the selected Job.
See the image below for an example:
Job History
Click on the Arrow to the left of a Job's checkbox on the left side of the list to expand its history.
See the image below for an example:

Logs
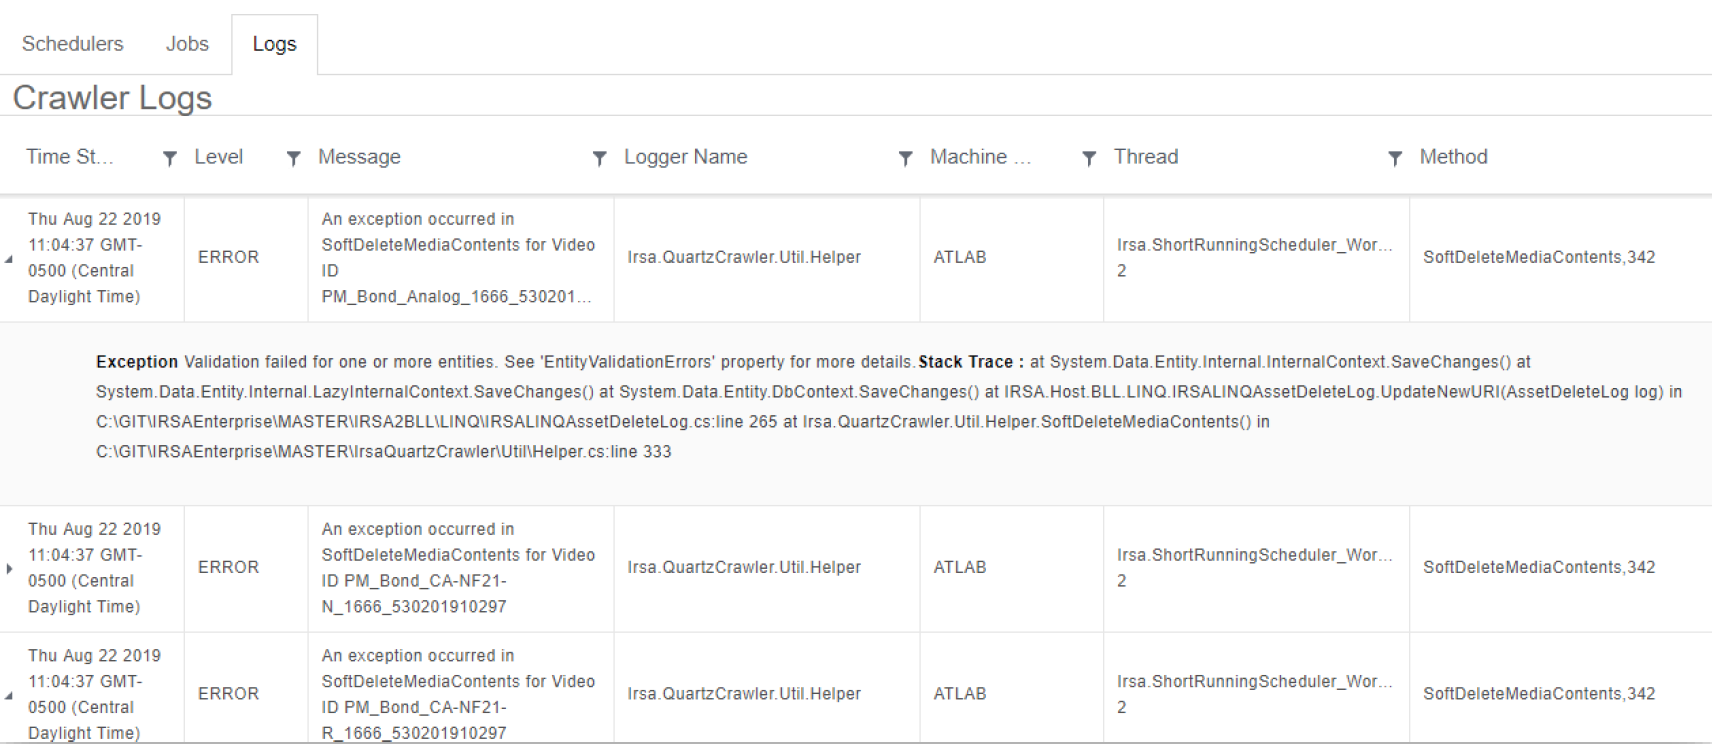
The logs tab shows crawler errors and exception detail for troubleshooting. Each log row can be expanded to see additional details.
See the image below for an example:
