Email Reasons Template

Mar 07, 2024
 881
881
Note:
This article showcases features that are typically only made available to Administrator roles.
However, since Getac Enterprise is highly configurable, the ability to complete tasks described in this article may be different for each User, depending on policy. Please contact an administrator with all access questions and concerns.
However, since Getac Enterprise is highly configurable, the ability to complete tasks described in this article may be different for each User, depending on policy. Please contact an administrator with all access questions and concerns.
Overview
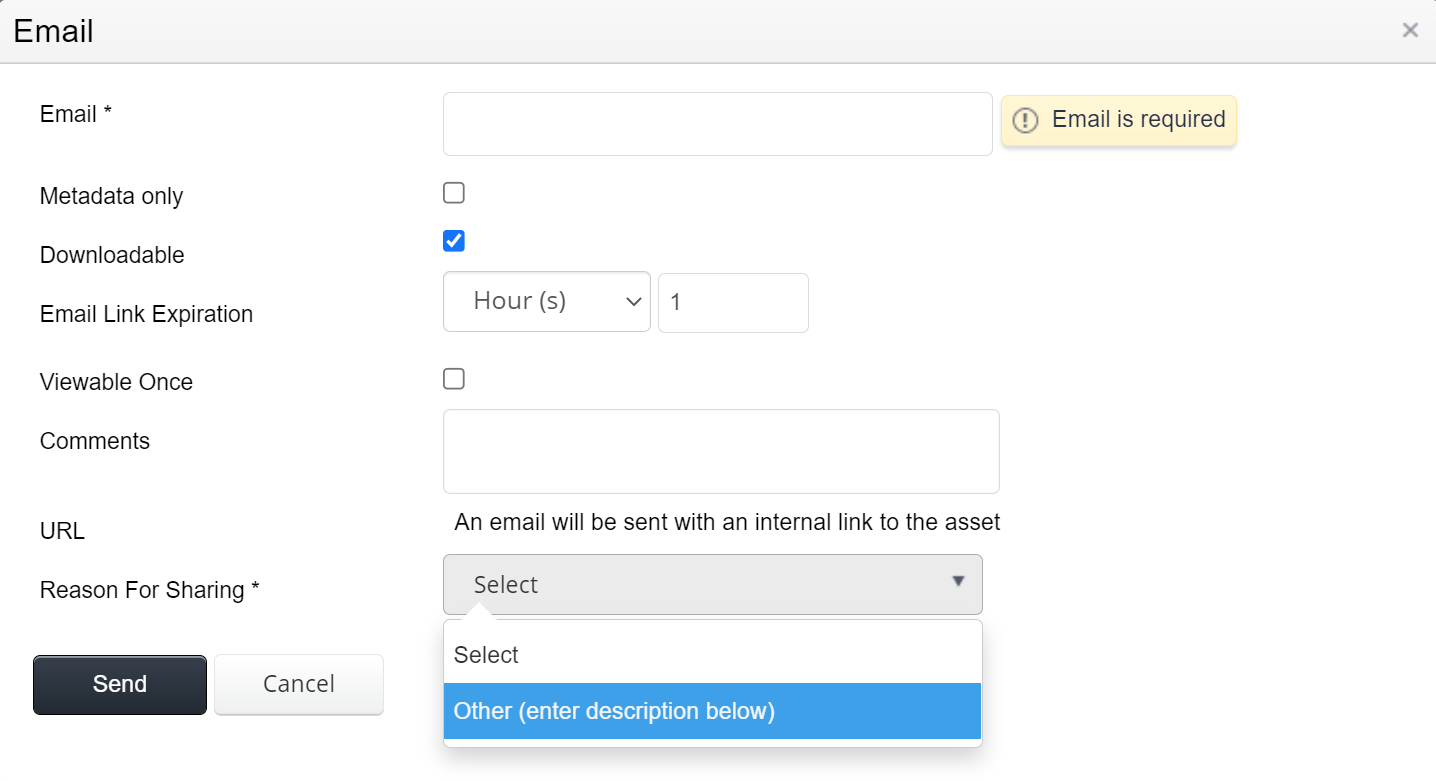
Email reasons are options that appear in a dropdown list when sharing Assets via email. The purpose is to specify why the User is sharing to external recipients. By default, other is available with a free text box however, custom options can be added to the list to eliminate redundant typing each time an Asset is shared.
See the image below for an example:
To create, view, or modify an email reasons template, perform the following steps:
- Navigate to the Main Stations page.
- Check the box to the left of the desired Station.
- Click the Gear icon, then Email Reasons Template.
Create new Reason
Perform the following steps:
- Click the Page icon.
- Type the desired reason into the text box.
- Click on Create.
See the image below for an example:
Edit existing Reason
Perform the following steps:
- Click the Page icon.
- Locate the desired Reason in the list.
- Check the box to the left of the desired Reason.
- Click on the Wrench icon.
- Modify the text.
- Click on the Save button.
See the image below for an example:

Delete Reason
Perform the following steps:
- Click the Page icon.
- Locate the desired Reason in the list.
- Check the box to the left of the desired Reason.
- Click on the Trashcan icon.
- Click OK to confirm.
See the image below for an example: