
 971
971
Overview
Sections of a video Asset can be highlighted to draw attention to a specific location. Once an Asset has been submitted to Getac Redact, the analysis engine will automatically try to detect all objects. This process may take some time, depending on the length of the video and how many objects are found. Progress is displayed in the Status column on the Project Portal. Once analysis has completed, the project will become available to access via its link.
See the image below for how to open a project:
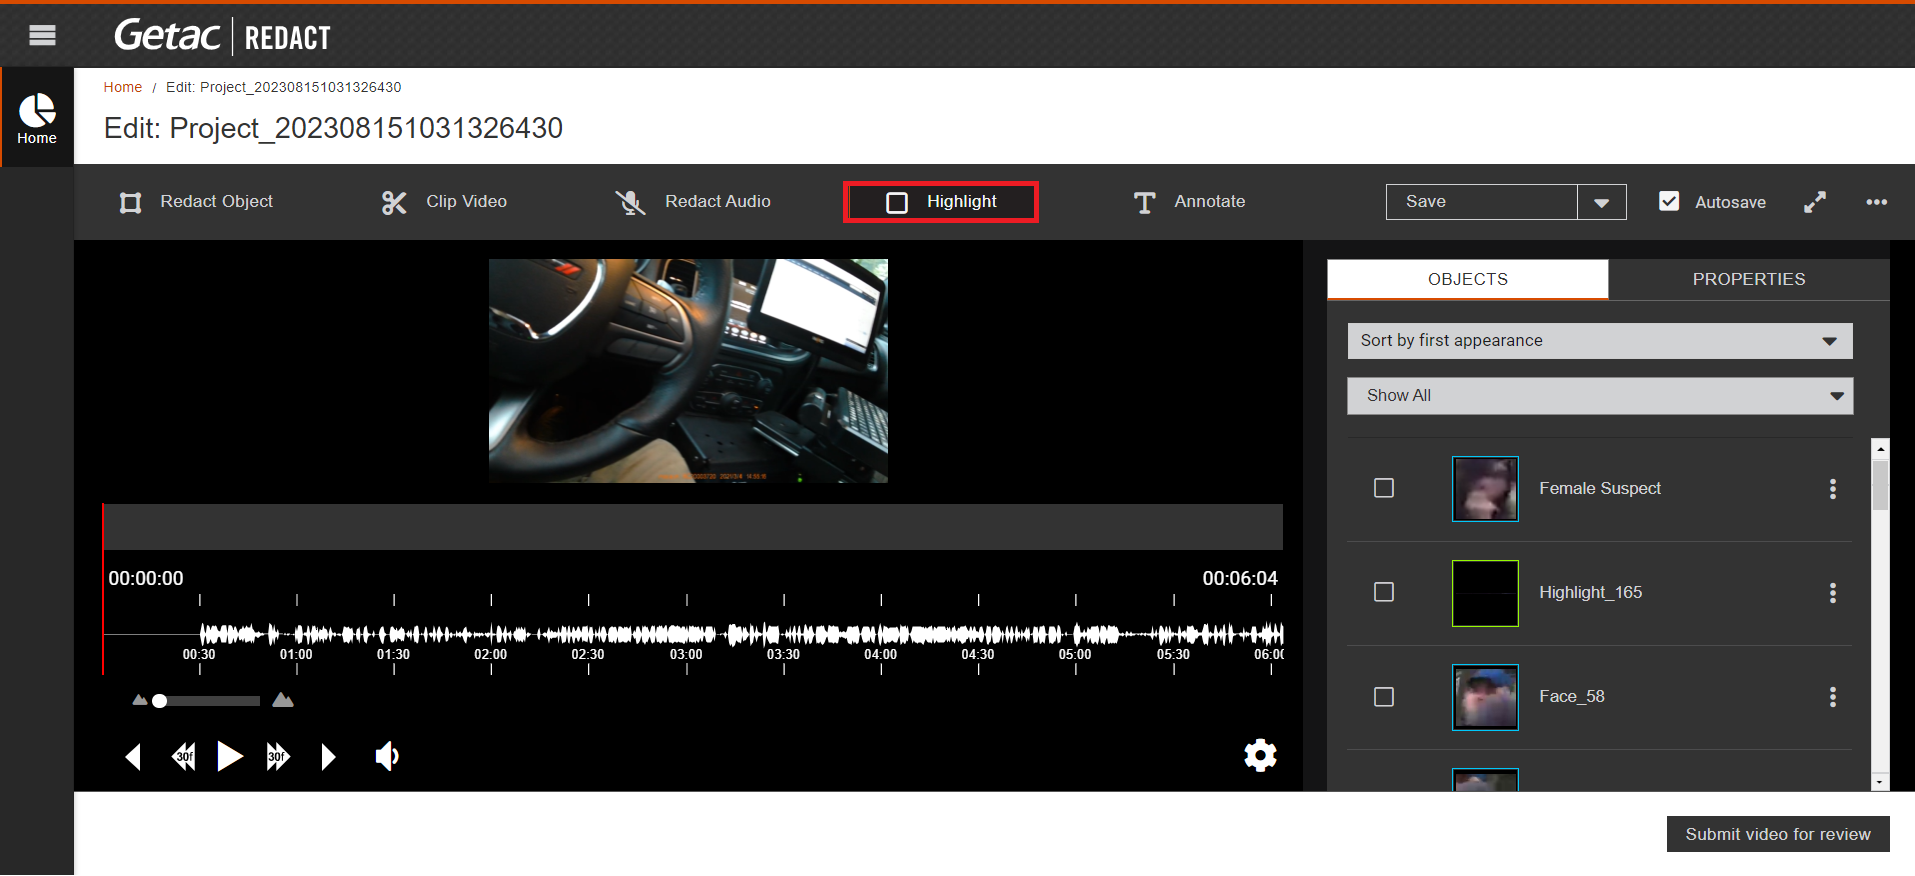
Highlight
To begin, click on the highlight button as shown in the image below:
The properties' panel will open and provide the following options:
- Highlight Object - See image below for an example:
- Box - Draws a rectangle over an area.
- Ellipse - Draws an ellipse over an area.

- Frame Color - Specify the color of the highlight frame. This dropdown menu will not be available until AFTER drawing the highlight frame on the video. See image below for an example:

Ex. Frame Color
Next, choose one of the following:
- Auto-Tracking - Click on the Detect and Track button to tell the analysis engine to evaluate that area and track for the entire duration of the video.

Ex. Auto-track Highlighted Area - Manual-Tracking - Click on the Add a Keyframe button (CTRL + K) to mark a location on the timeline. Advance the frame using the left and right arrow keys, adjusting where the frame covers the area. Press the stop button to finish tracking the area.
Finalize
If no other tools are needed, e.g. Clip Video, Redact Audio, Redact Object, or Annotate, click on the Submit for review button to place the video into review mode.
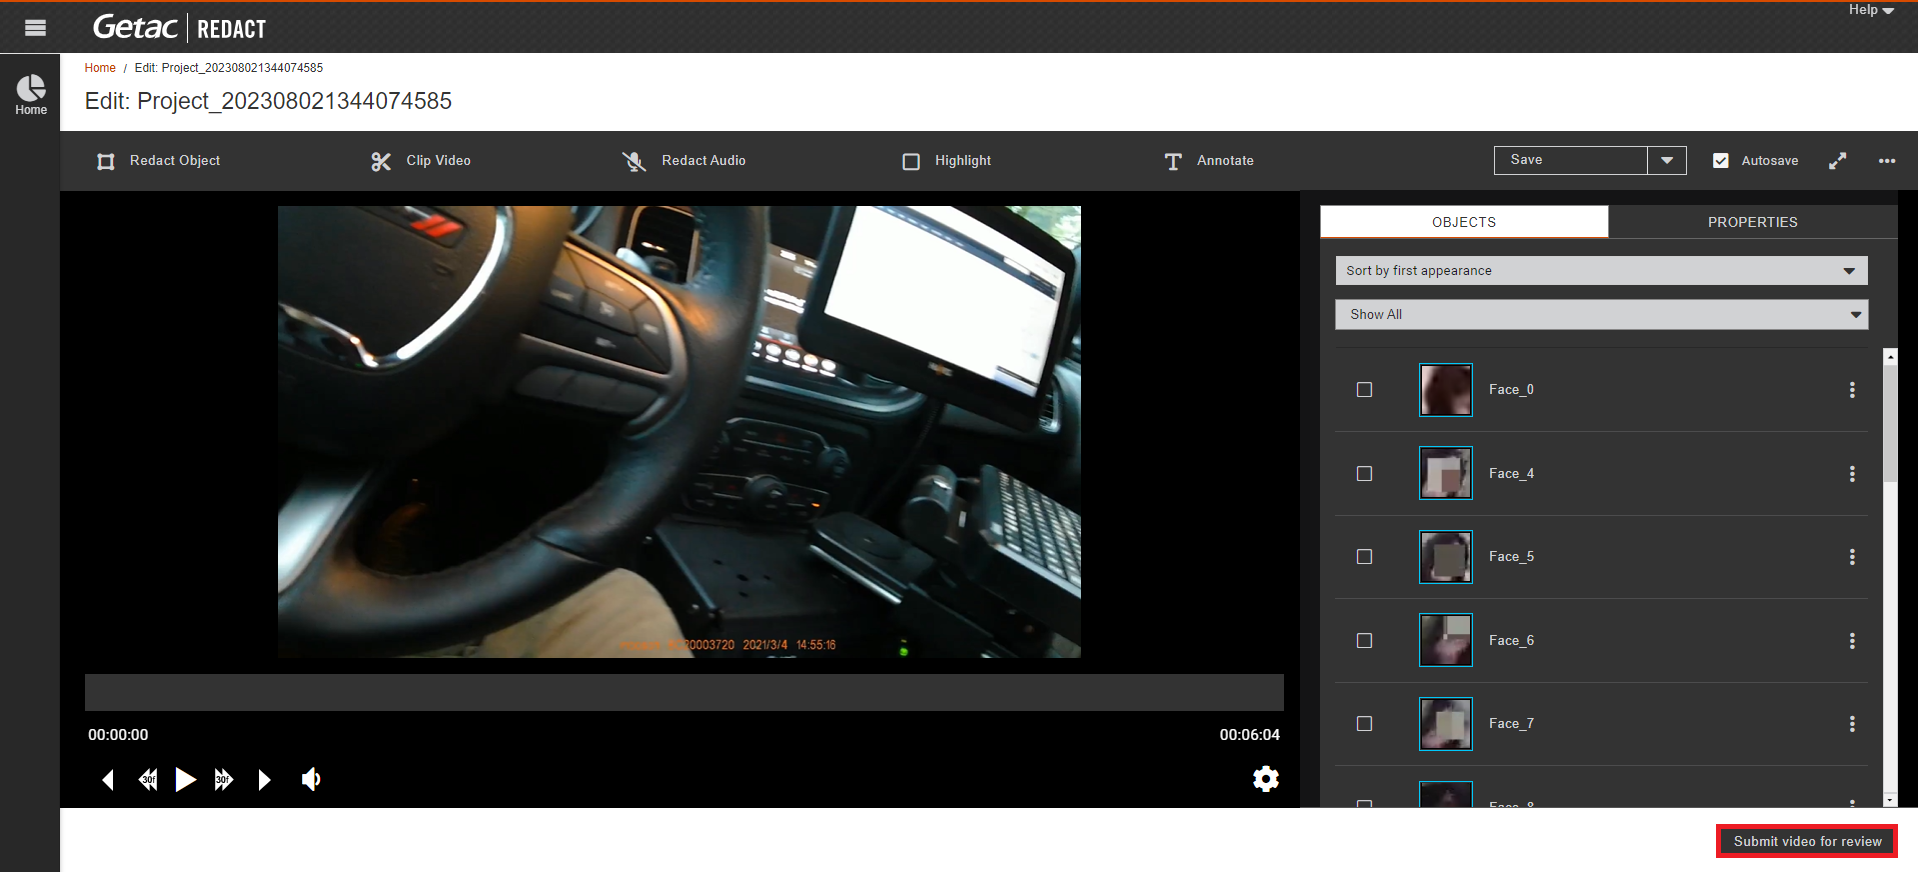
Once submitted for review, return to the Project Portal and click on the Project's link again to review and click the Submit for redaction button to finalize or Needs Modification if it needs to be looked at again. Once approved and processed, an email is sent to the redactor and the new child Asset will appear under the original from the Main Assets page.


