
 1215
1215
Overview
Faces and objects can be blurred out to prevent identification. Once an Asset has been submitted to Getac Redact, the analysis engine will automatically try to detect all objects. This process may take some time, depending on the length of the video and how many objects are found. Progress is displayed in the Status column on the Project Portal. Once analysis has completed, the project will become available to access via its link.
See the image below for how to open a project:
Delete Objects
This process can be used to remove undesired objects from being tracked and/or blurred out once the redaction job is finalized.
Perform the following steps:
- Scroll through the list on the right side of the pane to locate any objects that need to be deleted.
- Click the ⋮ icon on the right, and then click on Go to first appearance.
Note:This will jump the video to the point of the video where the object first appears.
- The object will be outlined with a box. Hover the cursor over the box to show an ⋯ icon.
- Click on the ⋯ icon and click Delete.
See image below for an example:


Ex. Delete Object
Merge Objects
Once any mistaken or undesired Objects have been removed from the list, scroll through the list again. Multiple duplicates will be visible. These can be merged together to make the list easier to manage.
Perform the following steps to merge duplicate objects:
- Scroll through the list, selecting duplicate objects by checking the box to the left of each respective thumbnail.

- Click on the ⋮ icon on the right side of any selected objects.

- Click on Merge objects.

- Select the desired name of the combined objects, then click the Merge objects button to finalize.

See the image below for how to merge objects:

Rename Objects
Once the list of Objects has been narrowed down, they can be renamed as desired to be easier to distinguish.
Perform the following steps:
- Click on the ⋮ icon to the right of the desired object.
- Click on Rename.
- Provide a new name and then click on the checkbox to confirm.
See the image below for how to rename an object:
Track Object
To track and redact objects that were missed by the analysis engine, perform the following steps:
- Click on Redact Object.

- In the object Properties menu, choose from either a Box or Ellipse to draw around the desired object.

- On the video player, draw the Box or Ellipse over the desired area. Make adjustments as needed.

.gif?sv=2022-11-02&ss=b&srt=o&spr=https&st=2024-03-05T20%3A27%3A27Z&se=2024-03-05T20%3A37%3A27Z&sp=r&sig=cw%2FbWBJAu%2B3ujMW80an3EKiLFzgbf%2Foo1BZ061Sipz4%3D)
- Next, choose one of the following:
- Auto-Tracking - Click on the Detect and Track button to tell the analysis engine to evaluate that object and track for the entire duration of the video.

- Manual-Tracking - Click on the Add a Keyframe button (CTRL + K)to mark a location on the timeline. Advance the frame using the left and right arrow keys, adjusting where the object covers the shape. Press the stop button to finish tracking the object.

- Auto-Tracking - Click on the Detect and Track button to tell the analysis engine to evaluate that object and track for the entire duration of the video.
Add Object Appearance
To add the blur mask to an object in an area in the video that was missed, perform the following steps:
- Click on an object to see where the blur mask shows up during playback. The timeline will turn blue, indicating where the blur mask is applied.

Ex. Timeline with Object Appearance in Blue - There are a couple different ways to ensure that the blur mask is covering all frames correctly:
- Go to the object's first appearance by:
- Clicking on the ⋮ icon to the right of the desired object.
- Click on the option, Go to first appearance.
- Advance the video frame by frame, adding an Object Appearance as needed and adjusting its location. See image below:

- Click on gaps in the timeline (non-blue areas) and advance frame by frame, add a new object using Auto or Manual-tracking, as covered previously.
- Go to the object's first appearance by:
Finalize
If no other tools are needed, e.g. Clip Video, Redact Audio, Highlight, or Annotate, click on the Submit for review button to place the video into review mode.
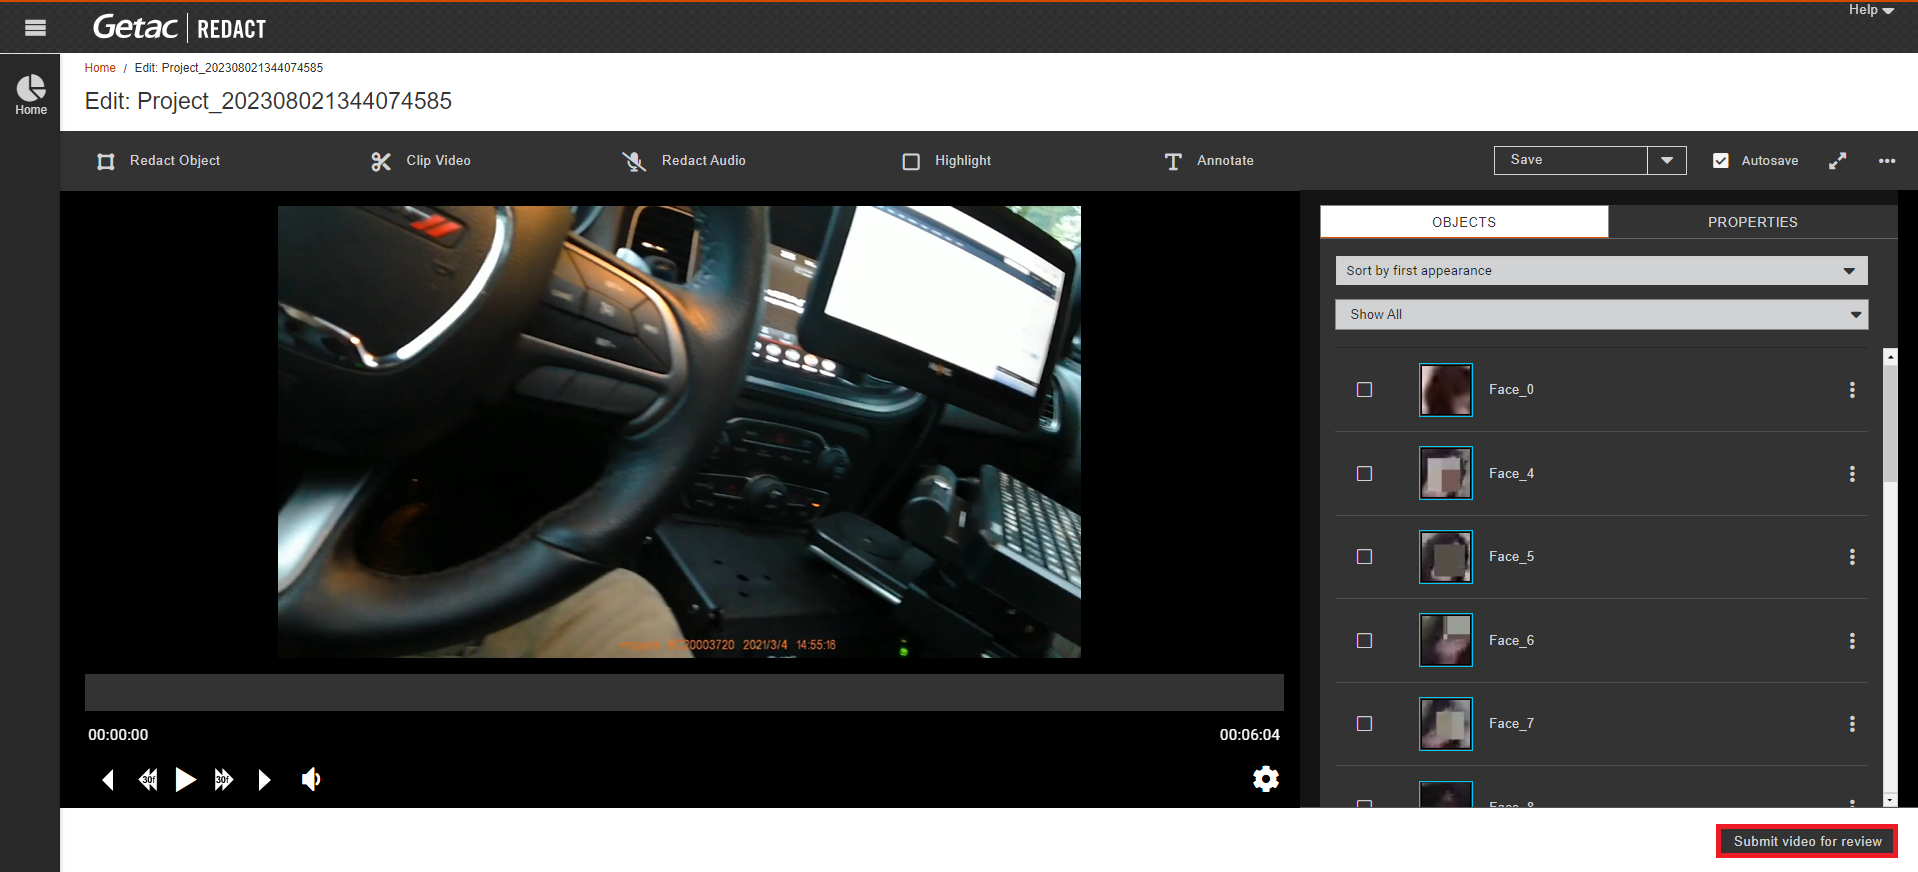
Once submitted for review, return to the Project Portal and click on the Project's link again to review and click the Submit for redaction button to finalize or Needs Modification if it needs to be looked at again. Once approved and processed, an email is sent to the redactor and the new child Asset will appear under the original from the Main Assets page.


